Store
This can be found via Navigator | Documents | Store.
Store may be referred to as Document Store in the Help files and other documentation, and 'Document Store' can be found as an option within HRpack, for example in Positions (see Documents in HRpack) and OHS, for example in Incidents (see Documents in OHS).
Access to Documents | Store is dependent on user security, therefore it may not be available within the Navigator menu.
Adding a Document/Image to Document Store
The Store is a hierarchical structure of folders, similar to Windows Explorer, with 'Documents' being the top folder. Documents or images cannot be added directly into the 'Documents' folder - you must add them into sub-folders. These may be existing folders or you can add new folders. For example, you may choose to have all OHS policies in a Policies folder. Another example is a Templates folder in which you might store an Induction template - this could be linked with an employee, amended and saved for that particular employee, whilst retaining the template in your Documents | Store | Template folder.
To create a new folder
- Highlight the folder within which you want to create a sub-folder [e.g. Policies]
- Click New Folder
- Right click on the new folder and choose Rename
- Type in an appropriate folder name then click OK.
Adding Documents/Images
- Highlight the folder where you want to add the document or image.
- Click Add New in the panel on the right
- If you are adding a document you may click the Browse button to the right of File Path.
Alternatively, if you are adding an image, select the Image tab, then right click to locate an image to add. (This will automatically browse for image file types only.)
You may find that in everyday use you will tend to add images directly into the target area. For example, you are more likely to be viewing Plant & Equipment in OHS and then add relevant images directly, rather than returning to Documents | Store to do so.
Image file types supported are JPG, PNG and BMP. Other image file types may not be displayed currently.
Note: Maximum document and image file sizes are specified in Security Node | System Preferences or Tools menu | System Preferences, then General Settings. You may need to contact the system Administrator to change these maximums, if you do not have access to this area.
Checking Document Links
Some documents and images listed in Document Store may be linked to one or more files (e.g. Employee | Property or OHS | Incident).
- Locate the document/image in the table of files, either by scanning the table, or via the Search option.
- Double click the document/image in the listing. This will display the Documents window for this item.
- Go to the Document Links tab to display items to which the document is linked (such as particular HRpack Positions , or OHS Incidents).
Deleting Documents or Images
Deleting documents/images will depend on whether or not they are linked with any locations within HR3pay.
- If a document/image is not linked to a location outside Document Store (such as an Employee file or an OHS Incident) and has no additional copies within Document Store folders:
- Highlight the document/image within the Document Store
- Click the Delete button to remove the document/image.
- If the document/image is linked to a location outside Document Store, there are some additional considerations for deleting:
- It may be advisable first to check the Document Links for this document/image (so that you have a better idea of how you want to proceed).
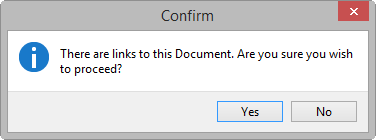
- Highlight the document/image and click Delete. The following message is displayed:

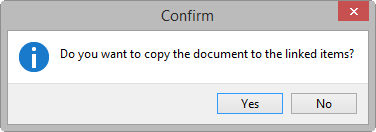
Click Yes to proceed, or No to cancel the deletion. - If you proceed, this message is displayed:

Click Yes if you wish to retain a local copy of the document in the location/s where it was linked.
Click No if you want to remove the document completely.
Image Editor
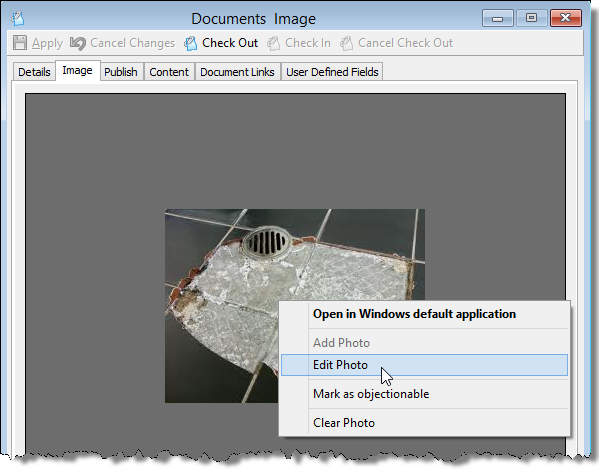
This is available by right clicking on an image and selecting Edit Photo:

Resize Image
This feature is to assist with the prevention of database bloat. For example, if a photo is taken on a phone camera, typically it would be a large file size. If multiple images of this type are added into the system, they will take up a lot of database storage space. Resize may be used to reduce the file size of the stored image.
- Locate and right click on the required image, and select Edit Photo.
- In Image Editor, go to the Image tab.
- Select Resize.
- Generally you would choose to resize by Percentage - so for example you could resize an image to 75% of its original size.
- With Maintain Aspect Ratio selected, specify the percentage value in the Width box - the Height box will resize automatically. Note the estimated Final Size - you may choose to reduce the image further if required.
- Click OK to close the Resize dialog box, then OK to close the Image Editor, and Yes to save the changes to the image.
Load
Use the Load option if the image has been updated outside of Document Store and you want to replace the image contained within Document Store.
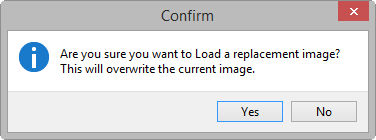
- On the Draw tab, select Load. This message will be displayed:

Click Yes to continue, or No to cancel the Load process. - From the Open window, browse to locate the new version of the required image, then click Open.
- The updated image will be displayed within Image Editor. You may click Save (in the Draw tab) and continue editing, or simply click OK to close the Image Editor then Yes to save your changes.
Note: Employee photos and company logos are not editable.
Publish
For each document or image, there are publishing options to consider:

- Once you are in the Documents tab, double click the relevant document
- Open the Publish tab
- If necessary, use the drop-down arrow next to Security Level to select the appropriate level.
Each person who logs in to HR3kiosk has an associated Security level, as specified by the system administrator. Security levels range from 0 to 9.
For example, if a user is Security level 5, they will be able to see items at Security level 5 and below. Therefore, if you apply Security level 5 to an image, any user with Security level 5 or above will be able to view the image. - Tick the HR3kiosk check box to enable the document/image to be viewed within HR3people.
Document Explorer
When you are viewing Documents | Store Document Explorer is available as a new main menu option.
| Option | Explanation |
|---|---|
| New | New Folder | This will add a new folder within the folder you currently have highlighted in the Document Store All Folders list. |
| Rename | This will open a window in which you can specify a new Description (name) for the folder you currently have highlighted. |
| Close | This is currently inactive (it does not close the Document Store window). |
